
How do I create my personal examination plan?
Step 1:
Agree a date with the person with whom you have to agree your personal examination plan. In some faculties this person is the mentor, in others the chairperson of the Examination Commission.
Step 2:
Open the menu Examinations.

Step 3:
Open the submenu My Examination Schedule.
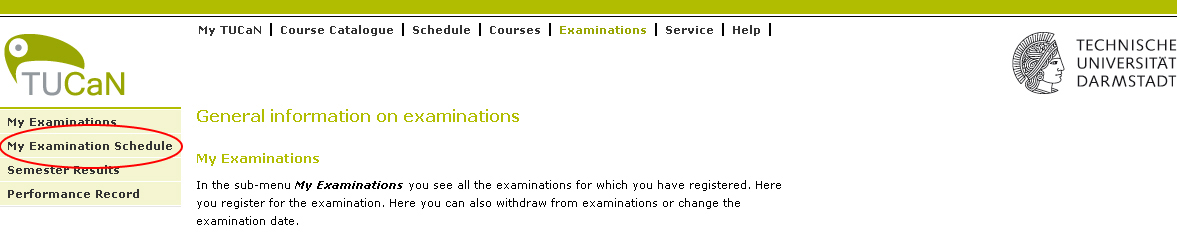
Step 4:
Read the notes.
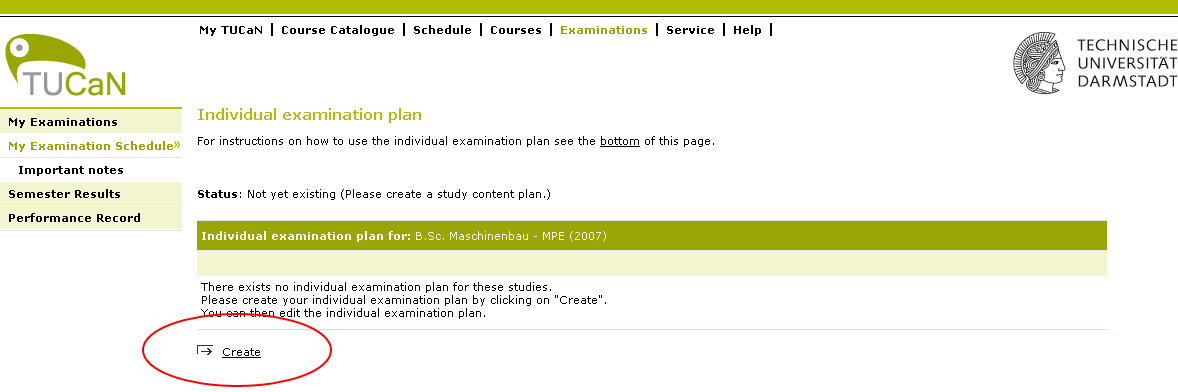
Step 5:
Click on Create.
Step 6:
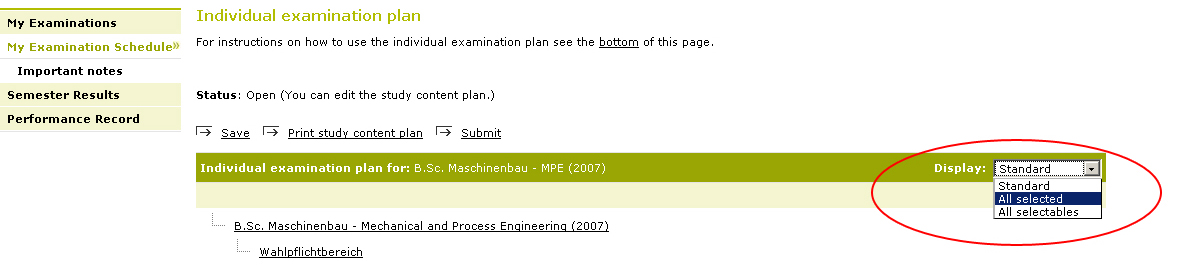
Assemble your personal examination plan. Click on Save.
Step 7:
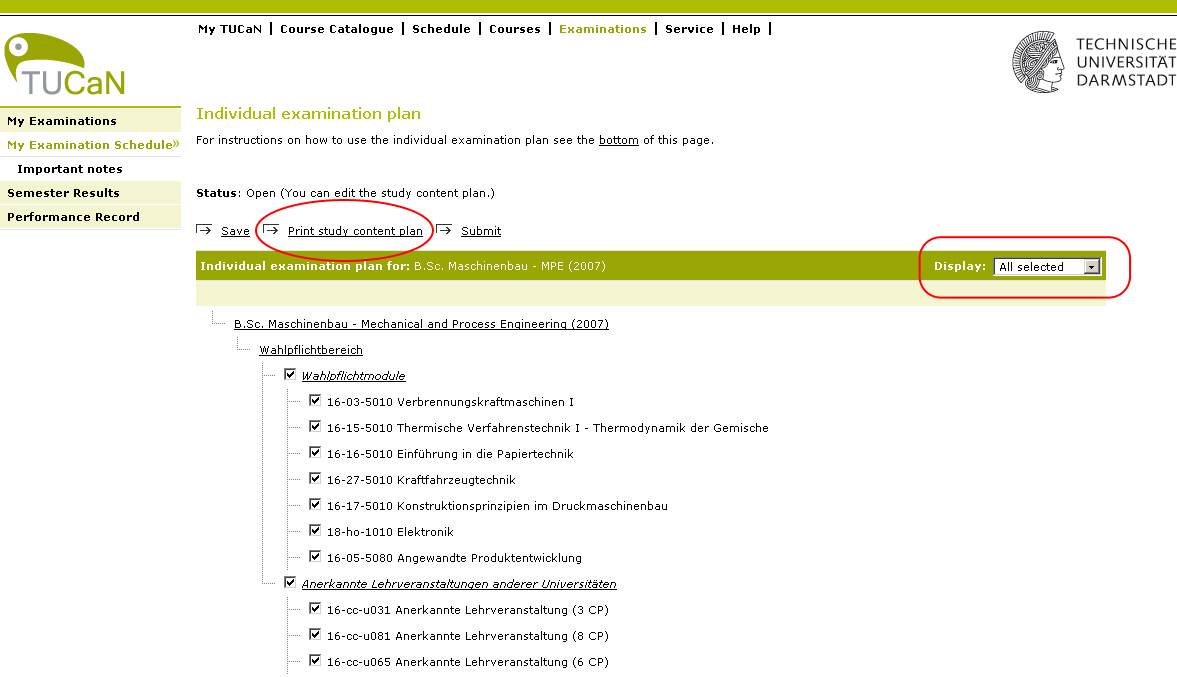
Have all subjects shown to you which you have chosen. Insert All selected in the display above on the right.
Then click on Print study content plan.
Step 8:
Take the plan with you to the person with whom you have to agree your personal examination plan. Discuss whether the plan can be approved as it is or must be changed.
Step 9:
Change your examination plan in TUCaN. Click on Save and then on Submit.
Important note! The examination plan is now fixed. You can no longer change it. Also you can only register for examinations if the Office of Study Programs and Examinations has set the status to accepted. This may take some days.

Step 10:
Have all subjects shown to you which you have selected. Insert all selected in the display above on the right. Then click on Print examination plan.
Step 11:
Sign the examination plan. Then have the examination plan signed by the person who has to approve it.
Step 12:
Hand the approved examination plan to your Office of Study Programs and Examinations. As soon as the Office of Study Programs and Examinations has set the status to Accepted, your new examination plan is active. Now you can register for these examinations.